The modern kitchen and dining area is no longer a secondary utility room; it is the gravitational center of domestic life. Its success hinges not on monumental renovations, but on the meticulous orchestration of seemingly small elements—from the placement of an outlet to the texture of a cabinet handle. A truly inspiring culinary zone must seamlessly balance intense operational efficiency with genuine comfort. This guide provides specific, actionable strategies for transforming your shared space into a highly functional and deeply soulful environment.
Optimizing Workflow and Layout Efficiency
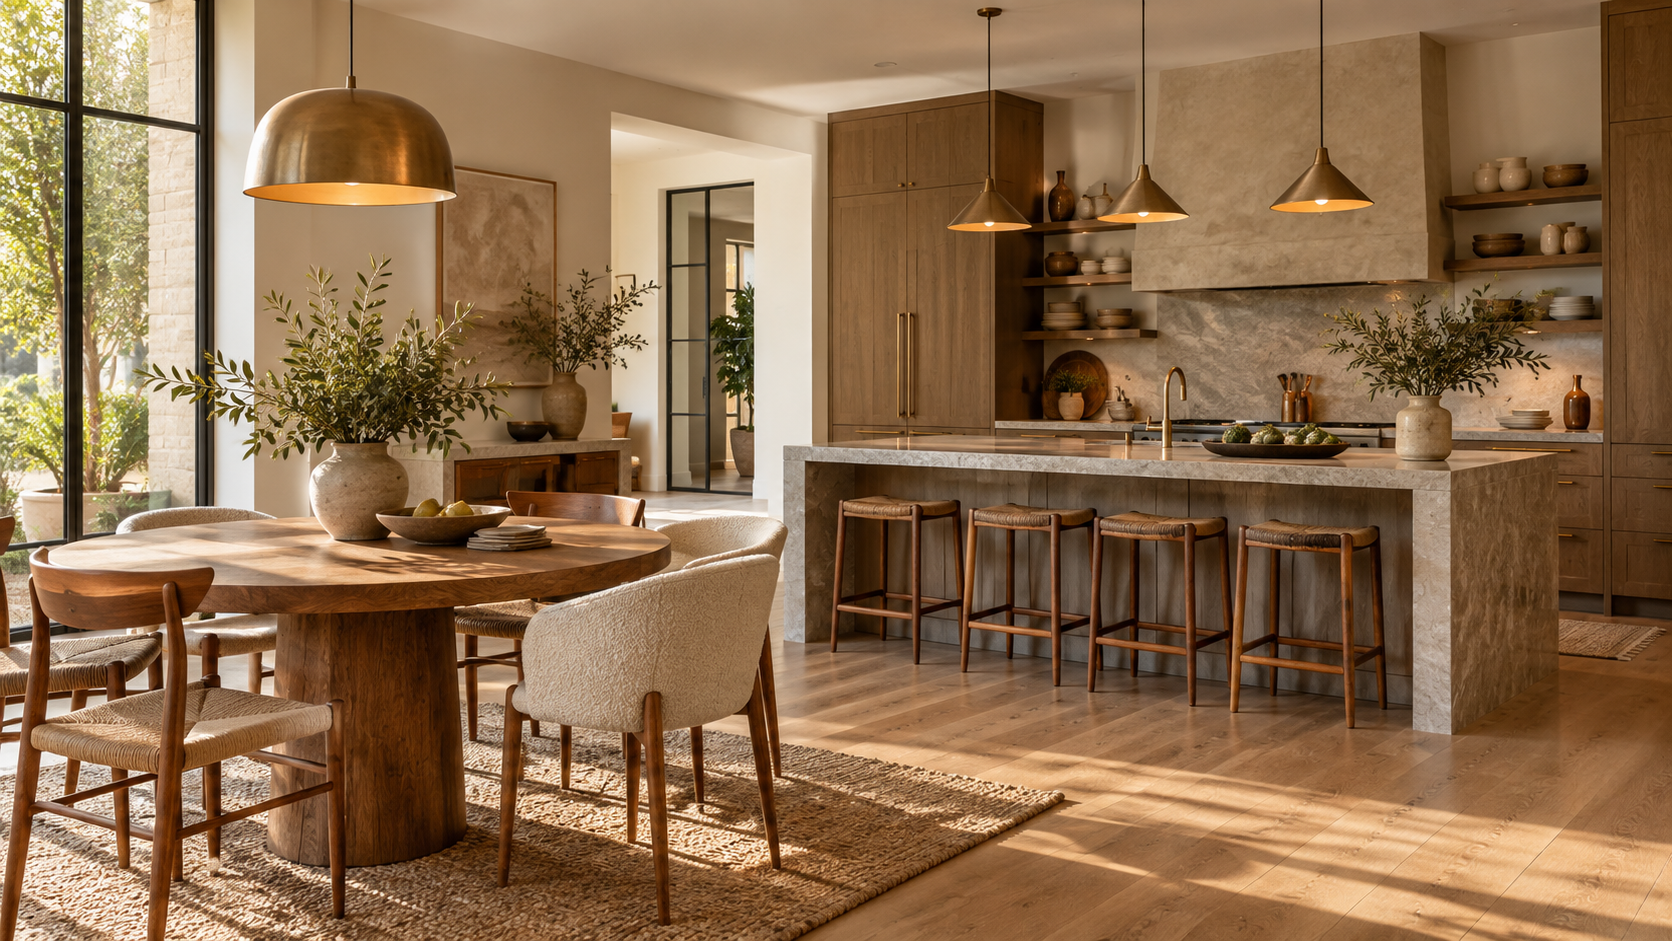
Before selecting any finish, rigorously map the daily movement within the room. The efficiency of your kitchen workflow—the path from storage to prep, to cooking, and finally to serving—determines how enjoyable meal preparation truly is. Aim for a clear working triangle (refrigerator, sink, cooktop) that maintains adequate clearance; professional guidelines suggest at least 42 inches between major appliances or counters to allow comfortable movement during intense prep phases. If the space allows, an integrated island should anchor this workflow, providing expansive counter space (ideally 36-48 inches deep for serious prep) while also offering informal seating that connects guests to the cooking process.
When designing the transition between the kitchen and dining area, prioritize fluidity over demarcation. Avoid placing large structural elements—like bulky storage cabinets or overly tall dividers—that visually interrupt the flow of conversation. Instead, use subtle changes in flooring material or an architectural feature like a low half-wall to define zones without creating barriers. Ensure that the primary pathway from the kitchen exit to the dining table is unimpeded and wide enough (minimum 36 inches) for comfortable passage, even when chairs are pulled out.
A common mistake is overcomplicating the zoning by adding too many functional islands or corners in a smaller footprint. The trade-off here is complexity versus utility. If space is limited, prioritize vertical storage and deep drawer inserts over sprawling horizontal surfaces. For example, installing pull-out spice racks within narrow cabinet sections maximizes accessibility without sacrificing floor space, ensuring that every square inch serves an intentional purpose.
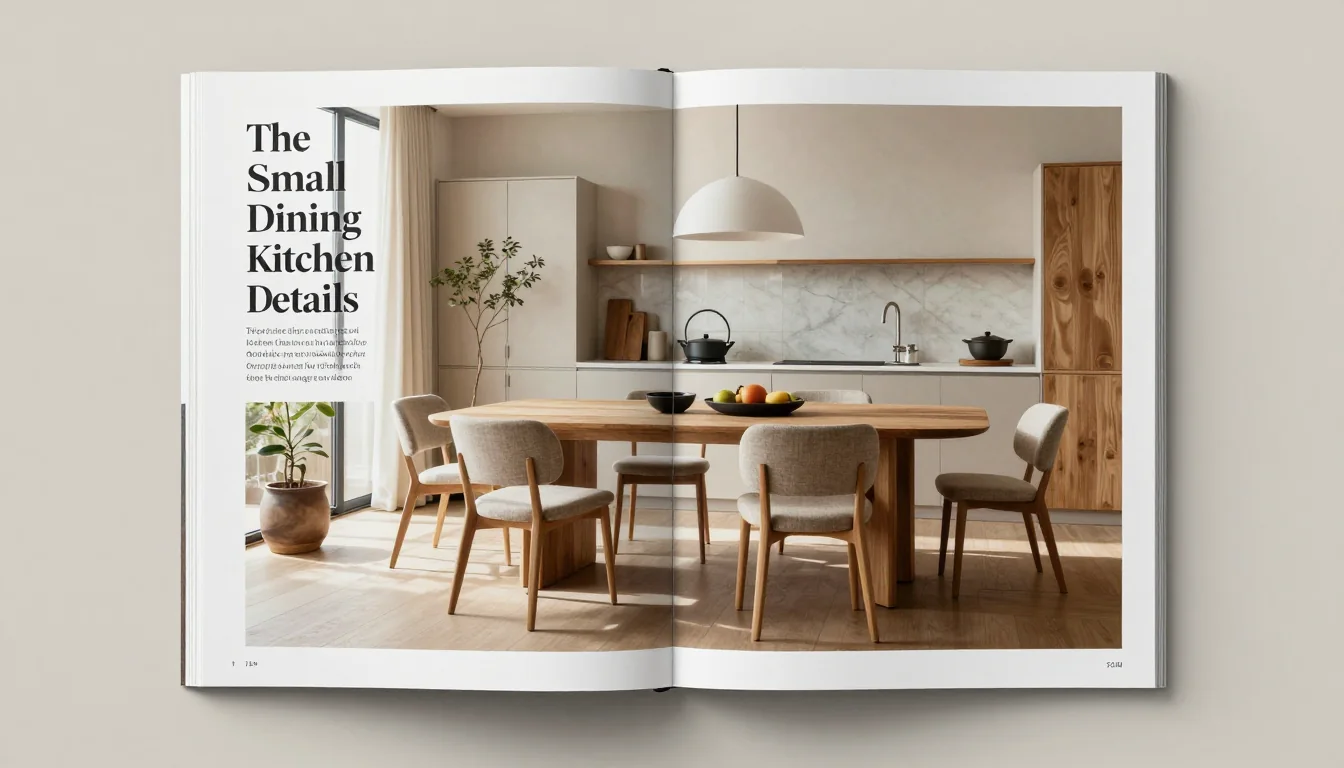
Strategic Materiality and Integrated Storage
The emotional tone of the room is set by its primary materials. When selecting countertops, consider not just aesthetics but durability and maintenance. While polished marble offers classic luxury, it requires careful sealing and vigilance against etching. A more resilient alternative for high-use areas is honed quartz or durable sintered stone; these provide a similar sophisticated look with superior resistance to stains and heat. Ensure that the chosen material's depth (standard counter depth is 25-30 inches) aligns correctly with your cabinetry structure for a seamless, professional finish.
Storage must be bespoke rather than merely abundant. Relying on open shelving often results in visual clutter; instead, invest in highly functional closed storage solutions that incorporate sophisticated internal organization. Think about customized drawer inserts designed specifically for cutlery or cooking utensils, and utilize deep pantry pull-outs that allow you to see everything at a glance without having to excavate the entire shelf. This level of integration is what maintains an elegant appearance even when the kitchen is in full operation.
When layering textures—such as pairing matte painted cabinetry with polished stone and textured backsplash tiles (e.g., handmade zellige or subtle subway patterns)—you build depth. A common design pitfall is choosing too many disparate materials, which can feel chaotic. The successful trade-off lies in maintaining a cohesive palette while varying the finish. For instance, if your base cabinets are deep forest green matte lacquer, pair them with light grey honed granite and simple brass hardware to provide rich contrast without visual conflict.
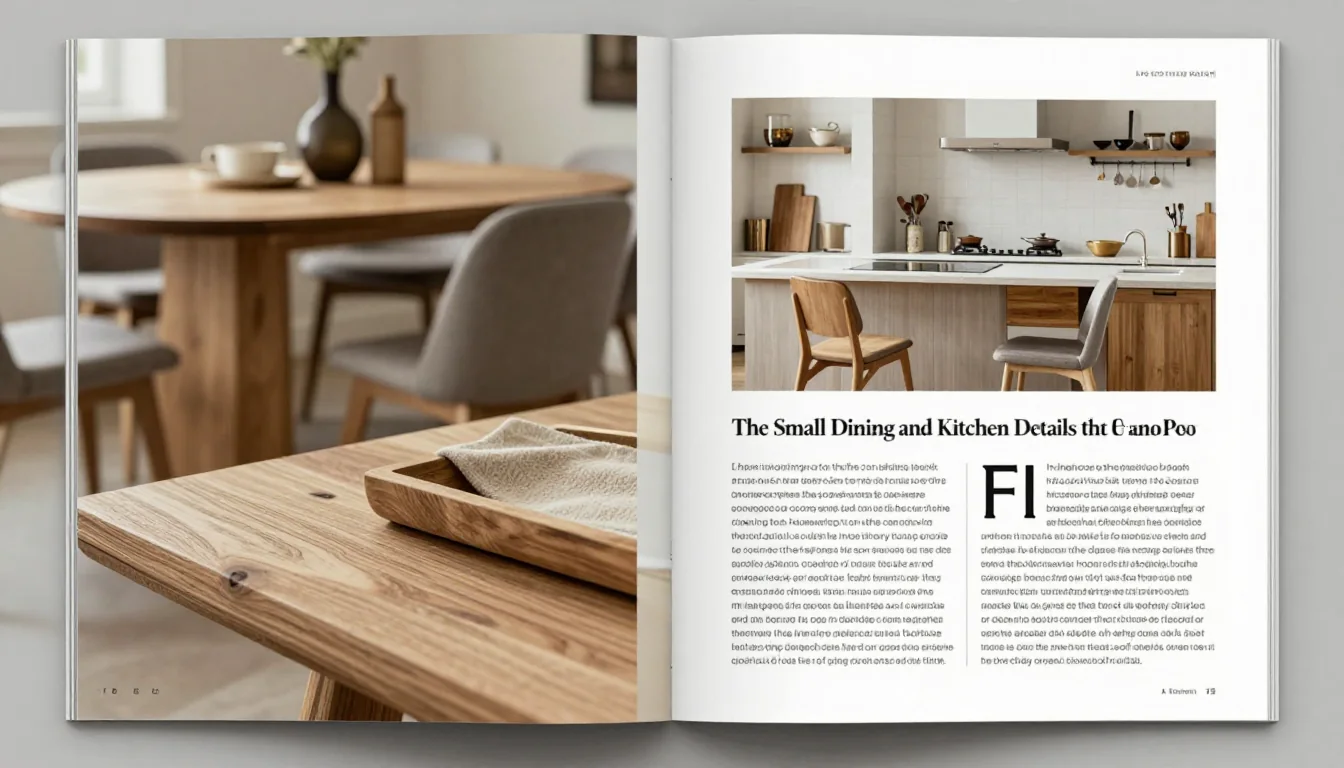
Mastering Ambiance Through Lighting and Detail
Lighting is the single most transformative detail. Never rely on a single overhead fixture, as this creates harsh shadows and functional blind spots. Instead, implement layered lighting: ambient (general room light), task (focused light over prep areas), and accent (highlighting architectural features or artwork). Install under-cabinet LED strips to illuminate countertops for safe chopping, and ensure your primary dining chandelier hangs at an ideal height of 32 to 36 inches above the tabletop. This provides focused illumination without obstructing views.
The hardware—handles, knobs, faucet style—acts as jewelry for the room. These small metallic choices dictate the final aesthetic character, from industrial grit to refined elegance. If your cabinetry is sleek and minimalist, opt for integrated finger pulls or slender bar handles rather than ornate knobs. Conversely, if the space has a more rustic feel (e.g., reclaimed wood), substantial, aged brass or matte black pull handles provide necessary visual weight and complement the material warmth.
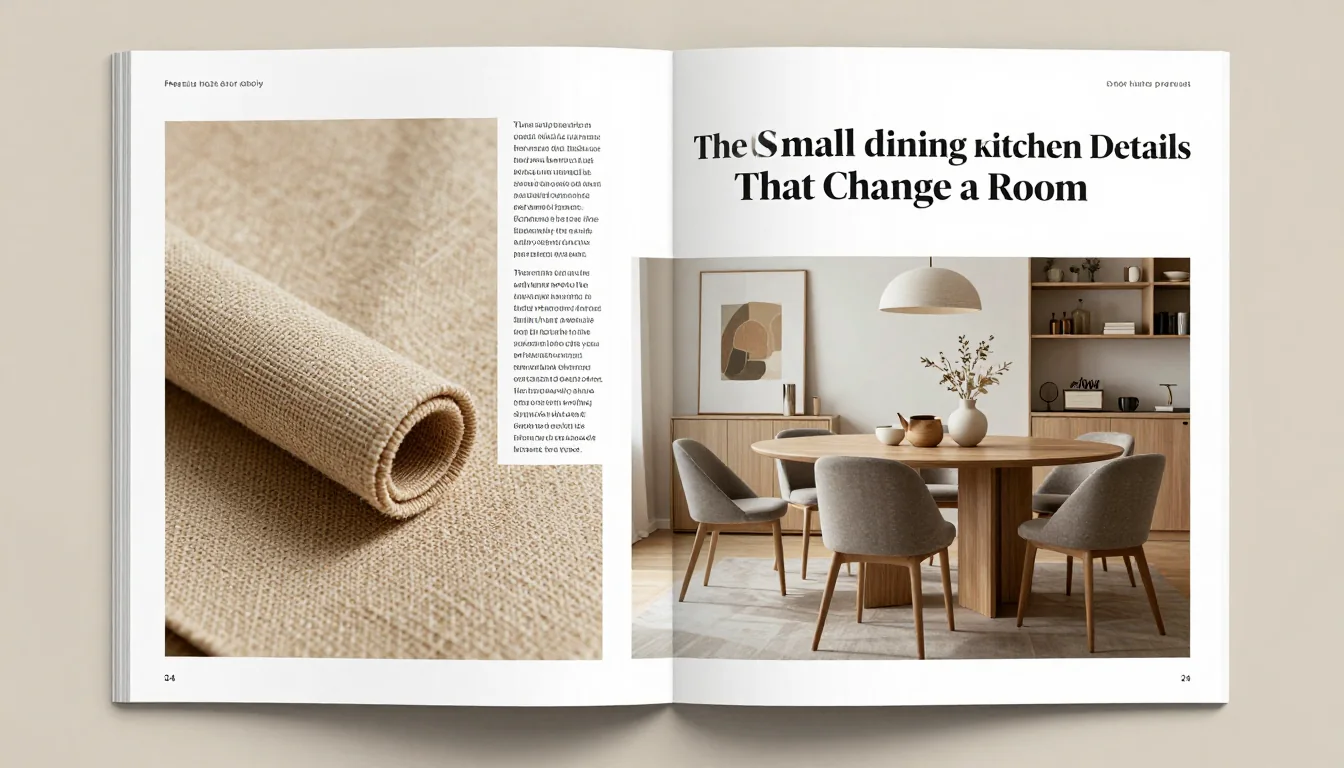
Finally, consider the small but critical details in the dining area itself: textiles and dishware. Introduce textural elements through table linens—a linen runner or cloth napkins—to soften hard surfaces. When selecting serving ware, choose pieces that reflect the room’s character; artisanal ceramics provide an organic touch, while polished stoneware adds a modern formality. A common mistake is treating accessories as afterthought fillers; instead, use them intentionally to anchor the space and enhance its narrative.