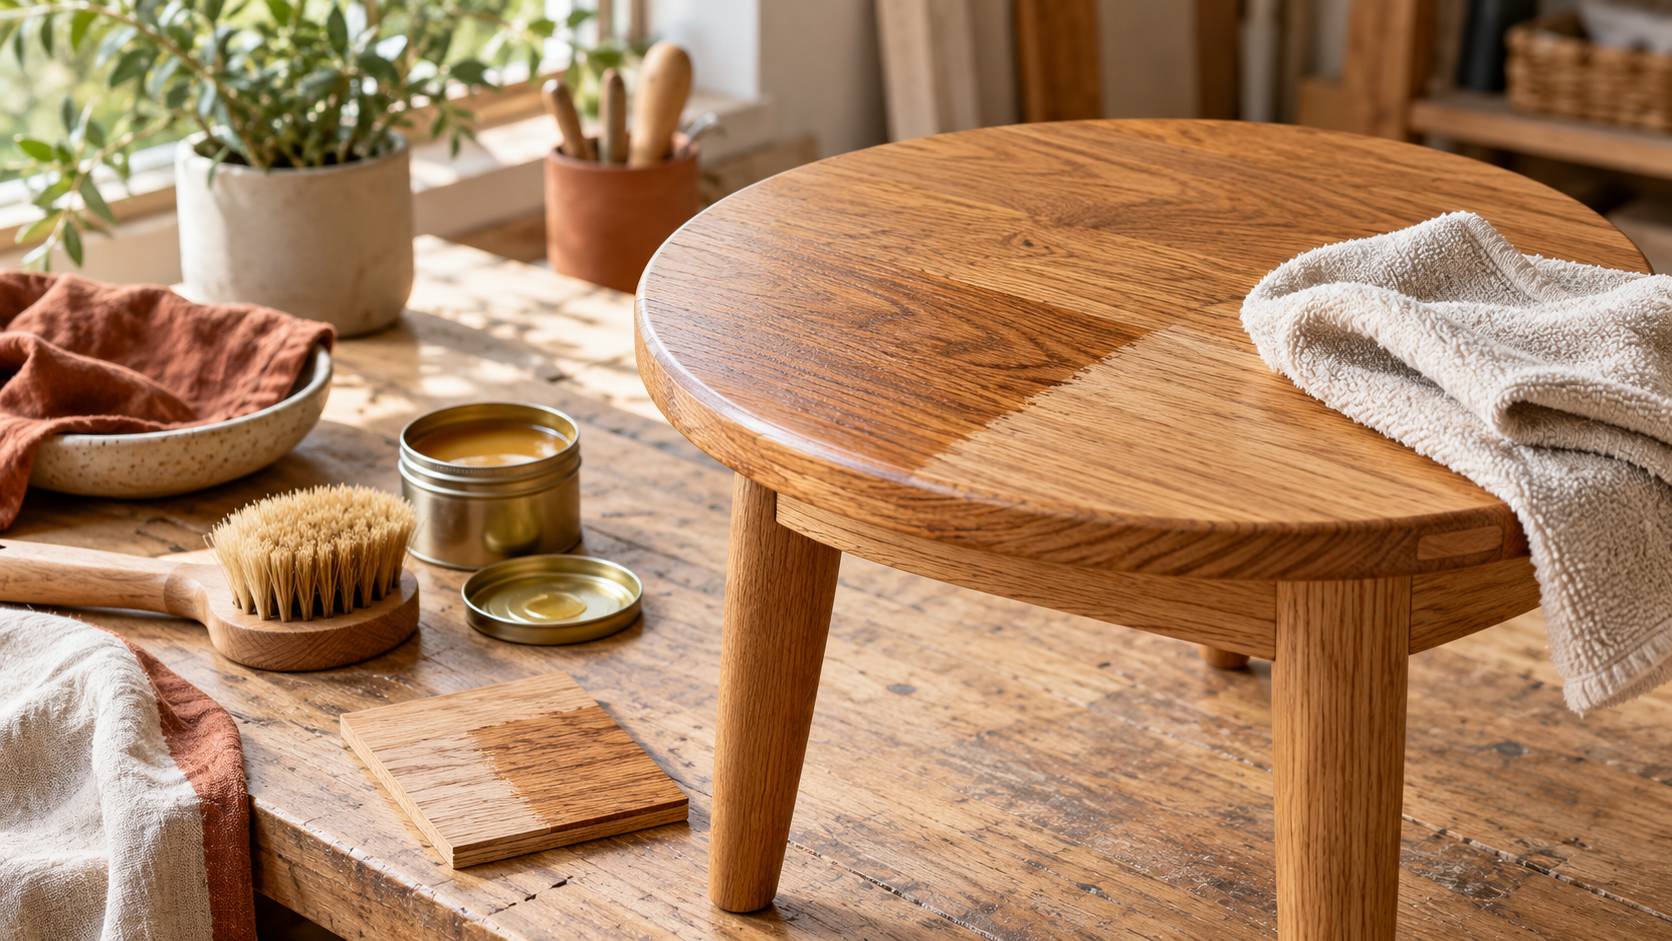
Wood is not merely a decorative material; it is an organic surface that responds to environment, handling, and time. For pieces intended to be central to daily life, maintenance must transition from being a chore into a predictable ritual. The goal of proper care is not just to keep the furniture looking new, but to preserve its structural integrity and patina—allowing the piece to age gracefully rather than degrade prematurely. This guide provides specific, actionable protocols for protecting your investments, moving beyond generic dusting tips to address the nuanced requirements of different finishes.
Establishing a Routine: Gentle Maintenance Protocols
The most critical step in wood care is prevention through consistent, gentle maintenance. Before applying any cleaning agent, always determine the furniture's finish—whether it is oil-rubbed, lacquered, varnished, or sealed with shellac. This determination dictates your entire approach; a piece finished with heavy lacquer requires far less moisture than one treated with natural tung oil. For general upkeep, use a soft, lint-free microfiber cloth and slightly damp (never wet) water. The goal is to lift surface dust and debris without introducing excess moisture that could penetrate the grain or compromise the sealant.
When routine cleaning reveals minor grime or fingerprints, avoid abrasive cleaners entirely. Instead, opt for pH-neutral soap diluted in distilled water. Apply this solution sparingly—just enough to lightly dampen the cloth—and wipe down the surface immediately. For heavily soiled areas, a very mild wood cleaner specifically formulated for your finish type can be used, but always apply it only to a small, inconspicuous area first. If you are unsure of the product's compatibility, stick strictly to water and microfiber.
A practical mistake many owners make is over-cleaning or using too much moisture. Saturation is wood’s enemy; it causes swelling, warping, and can weaken the adhesive bond within joints. Furthermore, never use household chemicals like ammonia or vinegar on finished wood, as these compounds break down protective sealants and dull the natural sheen. Keep a supply of soft dusting brushes nearby to gently sweep dust from carved details before wiping, ensuring that debris is removed before it has a chance to scratch the surface.

Addressing Wear: Scratches and Surface Marks
Small scratches are inevitable in pieces used daily. The repair strategy depends entirely on the depth of the mark relative to the finish. For superficial scuffs (those that only affect the top layer of varnish), a specialized wood filler or polishing compound designed for your specific stain color can often blend the imperfection. Always test any filler in a hidden area, such as under a skirt or inside a drawer, before applying it widely.
If the mark is deeper—a visible gouge or chip that has penetrated the finish and exposed bare wood—repair requires filling and sanding. Use a high-quality stain-matched epoxy filler to stabilize the damage. Once cured, sand the filled area flush with the surrounding surface using progressively finer grit sandpaper (starting around 180 and finishing at 320). The trade-off here is that any repair will slightly alter the piece's original texture; aim for invisibility rather than absolute perfection.
For areas where the finish has worn away entirely, such as high-contact points on armrests or table edges, re-oiling or waxing may be necessary. If your furniture was originally oiled (like teak), use a non-petroleum wood oil, applied with a clean cloth and allowed to absorb for 15–20 minutes before buffing off excess. For lacquered pieces, the trade-off is more complex: attempting to re-lacquer requires professional expertise; often, it is better to leave the area as a subtle contrast that tells the history of the piece.

Deep Care: Conditioning and Protection
Conditioning wood protects its natural moisture content, which helps prevent cracking and splintering. If your furniture is made from a dense hardwood (such as walnut or oak) that was originally finished with an oil or wax blend, periodic re-conditioning is essential—ideally every 6 to 12 months, depending on usage and environmental humidity. Apply the chosen product sparingly; a small amount spread over the entire surface is sufficient. Allow full absorption before lightly buffing away any residue.
When choosing conditioning products, always prioritize natural ingredients like pure beeswax or mineral oil if your piece is antique or sensitive. Avoid silicone-based polishes, which can create an artificial, plasticized sheen and trap dirt within their film over time. If you live in a climate with high fluctuations in humidity (e.g., near coastlines or poorly insulated homes), consider placing small, stable humidifiers near the furniture to mitigate rapid drying cycles that stress the wood.
The greatest caution must be exercised when applying any restorative agent: always patch test. Before treating a large area, apply your chosen oil, wax, or cleaner to an inconspicuous spot—like the underside of a drawer runner—and allow it to sit for 24 hours. Observe how the finish reacts; check for discoloration, bubbling, softening, or excessive absorption. This simple step prevents you from damaging the piece with a product that may appear benign but is chemically incompatible with its original protective layers.
Practical Planning Notes
Measure twice, test products in an inconspicuous area, and photograph fittings before taking anything apart.
Material Perspective
Microfiber is gentle for finished wood; natural-bristle brushes suit detailed dusting; abrasive pads can damage protective coatings.
Before You Commit
Note the finish, cleaning product, test area, drying time, and any change before treating the full surface.
For related, room-specific ideas, continue with the guides in this category or return to the Furnlyra home page.