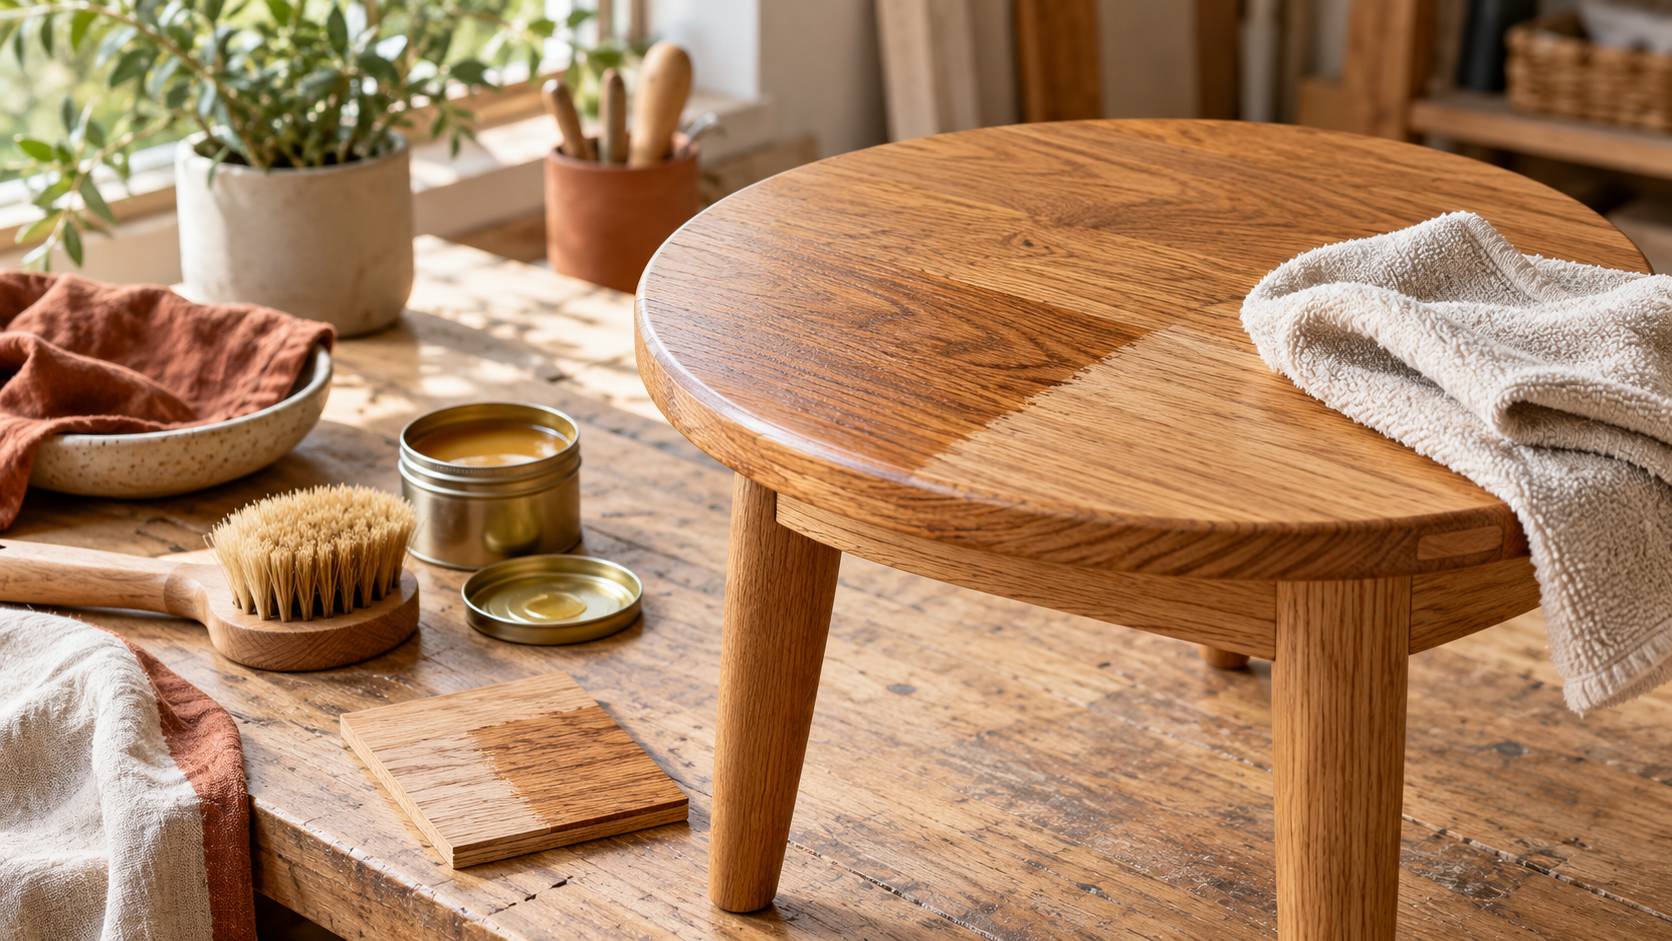
The patina of age tells a story, but sometimes that story includes visible wear: faded finish, scuffed edges, or dull surfaces. Before you consider replacing a beloved wooden piece—a vintage dresser, an heirloom side table, or a worn chair—consider giving it the focused attention it deserves. Wood furniture is resilient, and with a dedicated weekend care routine, you can transform tired pieces into stunning focal points for your home. This process isn't just about cleaning; it’s about nourishing the wood fibers and revitalizing the protective layers that have been eroded by time and daily use. By dedicating just a few focused hours to deep-cleaning, restoring, and protecting these treasures, you can achieve a professional, renewed look without ever leaving your living room.
The Deep Clean: Removing Years of Grime and Build-Up
The foundation of any successful restoration is meticulous preparation. You cannot apply new finishes or oils effectively if the surface is still laden with dirt, dust, and old wax residue. Start by carefully dusting the entire piece using a soft microfiber cloth to remove superficial debris. For deeper grime in crevices and carvings, use a specialized furniture cleaner—one designed specifically for wood that won't strip the existing finish prematurely. Work in small sections, applying the cleaner sparingly with a damp (not wet) cloth. If you encounter stubborn marks or embedded dirt, a gentle wooden toothbrush can be effective for detailing hard-to-reach areas like drawer runners or corner joints.
Once cleaned, it is crucial to dry the piece completely. Allow several hours for all moisture to evaporate. Next, lightly sand any high-traffic areas that have developed slight surface roughness or minor scratches. Use fine-grit sandpaper (around 220 grit) and always sand *with* the grain of the wood. This action doesn't remove the finish entirely but rather buffs out imperfections, creating a smoother canvas for the next steps. Wipe away all sanding dust thoroughly with a tack cloth to ensure that your subsequent treatments adhere perfectly.

Nourishing the Grain: Restoring Depth and Hue
After the surface is clean and sanded, it’s time to address the wood itself. Depending on whether your furniture has an existing protective finish (like varnish or lacquer) or if you are working with bare wood, your approach will differ. If the finish is still intact but dull, applying a high-quality wood oil—such as tung oil or linseed oil—is often enough to restore richness and depth. Apply the oil liberally using a clean cloth, allowing it to soak into the porous areas of the grain. Let the oil penetrate for the time specified by the product instructions.
For pieces with significant fading or severe dryness, you may need to employ a subtle wood stain or dye. This should be done only after testing on an inconspicuous area first. Stain allows you to selectively deepen the color in areas that have been bleached by sunlight, offering a uniform and rich appearance. Wipe off any excess stain immediately, ensuring the product is absorbed into the grain rather than sitting atop the surface. This phase transforms dull surfaces back into vibrant, inviting elements of your décor.
The Protective Layer: Sealing for Longevity
The final step in the weekend care routine is applying a protective sealant to safeguard your newly refreshed piece from future wear and tear. While wood oils provide nourishment, they often require periodic reapplication; conversely, a durable topcoat provides robust defense against spills, humidity changes, and daily friction.
If you chose an oil treatment, consider finishing with a light coat of matte or satin polyurethane varnish. This sealant should be applied thinly in multiple coats rather than one thick layer, as thin layers cure more evenly and are less prone to bubbling or cracking. Sand lightly between each coat using 320 grit sandpaper for the smoothest finish possible, then wipe away dust before applying the next coat.
For pieces where you prefer a natural, non-glossy look, wax finishes are an excellent alternative. Furniture paste wax not only protects but also adds a beautiful sheen and gives the wood a classic, cared-for aesthetic. Buffing this final layer provides that perfect, finished glow. A consistent routine of light dusting and occasional re-oiling ensures your restored furniture remains a cherished fixture for years to come.
Practical Planning Notes
Measure twice, test products in an inconspicuous area, and photograph fittings before taking anything apart.
Material Perspective
Microfiber is gentle for finished wood; natural-bristle brushes suit detailed dusting; abrasive pads can damage protective coatings.
Before You Commit
Note the finish, cleaning product, test area, drying time, and any change before treating the full surface.
For related, room-specific ideas, continue with the guides in this category or return to the Furnlyra home page.